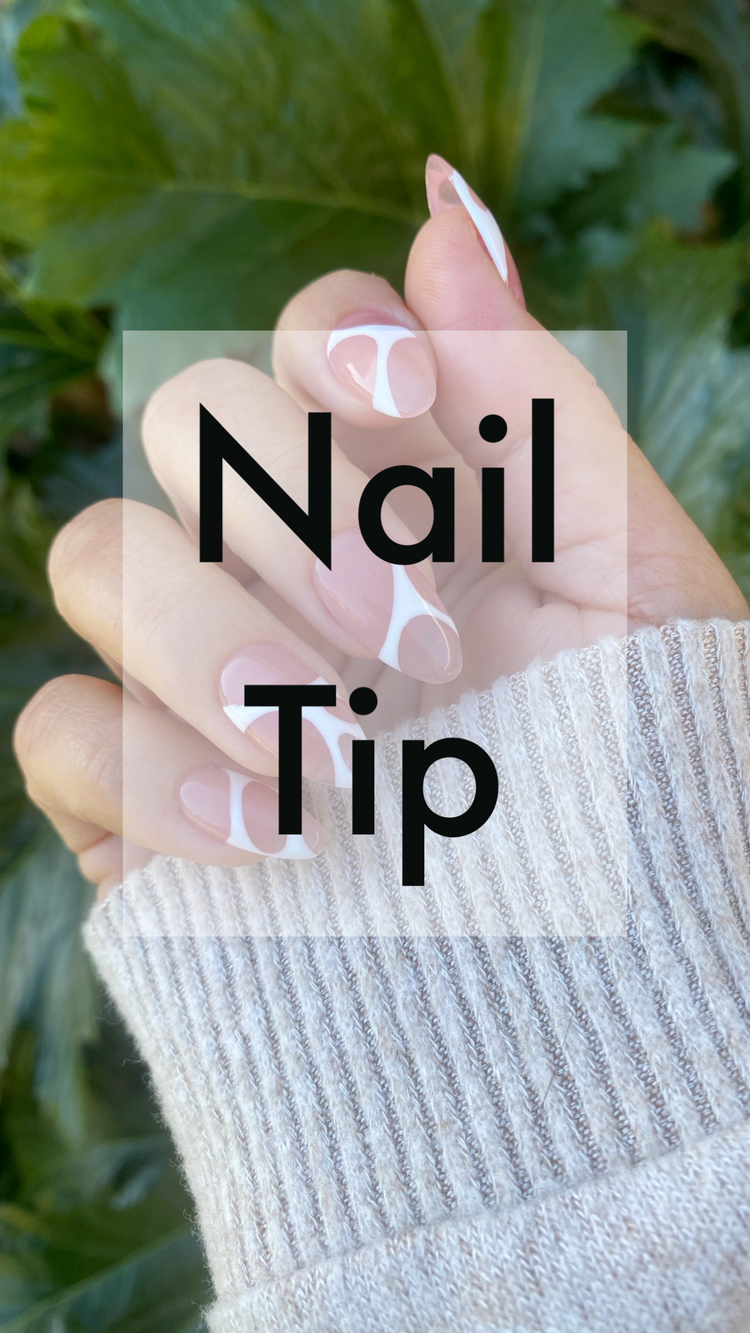
Shape detail
I offer over 15 shapes and lengths to better suit your slaying style! Each fit subtly different. All are picture in a size 1 so you can see how some do fit larger or more narrow than true.

Let's talk about each shape in further detail.
- Coffin regular has a standard fit and runs true to size. The length is a good mid length. The longer your nail bed is, the less free edge will hang over and feel "shorter." The shorter your nail bed is, the longer they will feel. So, as with all nails...the fit is relative to your nail shape.
- Coffin Mid length has a mid to long length. This nail shape in particular has a quick taper, so natural nail beds which are wider at the tip are not the most. Ideal for this shape, as they may reveal some nail at the side walls towards the tip- even when fitting at the cuticle.
- Long coffin has a long fit, and and runs true to size with the exception of sizes 0 & 1 which fit a touch more narrow than the regular coffin. I personally wear one size up in the thumb on this shape. It is always recommend you purchase a "fit kit" for the truest sizing experience.
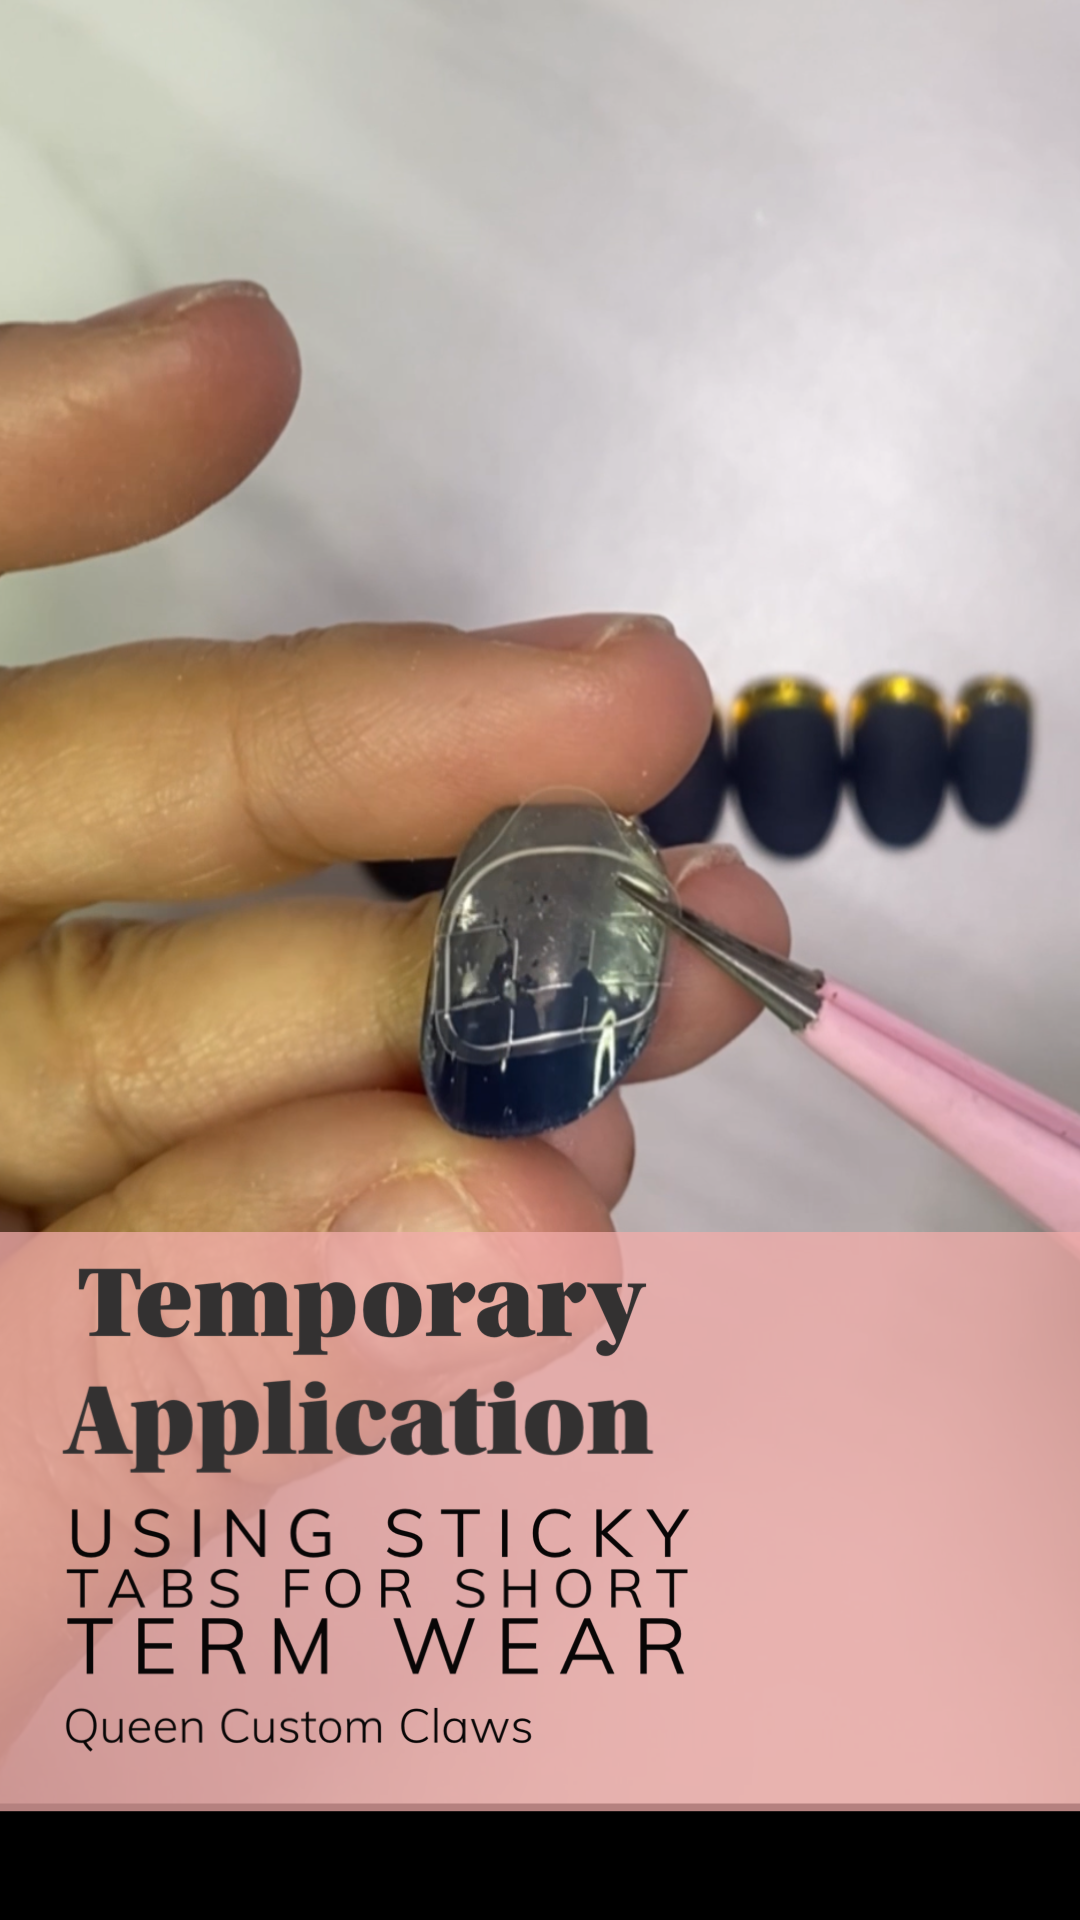
- Coffin Deep Sculpted is NOT recommended for the client with flat or scooped nail beds. This fit can be tricky- for kit recommended. This set runs deep in both the c- curve from wall to wall, and the apex (the "tummy" form a side view.) It works well for clients with curvy nails. While this set runs true to size, the fit can feel a bit more "pinched" due to the deep well on the C curve. Some clients will experience an air bubble where the nail may not make contact with your natural nail...in this case, re-evaluate this shape, or try using a sticky tab along with glue to fill the extra space. It is a beautiful and flattering length and shape.
- Coffin Xtreme Sculpted runs long & fits true to size, with a beautiful sculpted tip. Because the c curve pinches only at the tip, this nail still fits the nail bed without the more severe pinch you would expect from the Deep Sculpted Coffin.
- Coffin XXL Sculpted Longest. This is the longest fitting nail shape. Like the long coffin, the 0 & 1 sizes fit slightly more narrow. It is always recommend you purchase a "fit kit" for the truest sizing experience. Consider sizing up in the thumb.
- Almond regular- sizing and fit is similar to the regular coffin & stiletto. The length is a good regular mid length. The longer your nail bed is, the less free edge will hang over and feel "shorter." The shorter your nail bed is, the longer they will feel. So, as with all nails...the fit is relative to your nail shape.
- Almond Sculpted Mid length - This shape is both flattering and classic. A good mid to long length, with a sculpted shape...meaning this nail had a c curve tip and body. Not recommend for clients with flat or scooped nail beds. Sizes 0-2 can run a tad smaller than other shapes. Consider sizing up in the thumb. It is always recommend you purchase a "fit kit" for the truest sizing experience.
- Stiletto Regular sizing and fit is similar to the regular coffin & stiletto. The length is a good regular mid length.
- Stiletto Sculpted mid length this shape RUNS SMALLER. Almost every size of this shape runs more narrow than any other nail. The size 0 fits more like a 1...and so on. ONLY ORDER if you know your size or have been fitted for these. Sculpted means it runs deeper in the C curve.
- Stiletto long has a long fit, and and runs true to size with the exception of sizes 0 & 1 which fit a touch more narrow than the regular stiletto.
- Stiletto XXL Scuplted longest- this shape runs slightly wider than its XXL Coffin Counterpart. a good option for someone with a wider thumb that may have difficulty fitting other shapes in the thumb.
- Round Nubbies- This shape is only offered as a special request- and only for specific designs. It really functions more as a nail cover. Perfect for those who like the natural gel mani look. There is some curve to the underside, and therefor may not be suited for flat or scooped nail beds. because it is slightly flared at the top, it also works well for clients with nails that are narrow at the cuticle and flare at the tips.
- Round Shortie- this nail is short to regular in length. It does has a quicker taper ( like the mid length coffin) and therefore some clients may fit the cuticle, but experience some show at the tip because its more narrow. Best to try a fit kit because it fits different in the tip than most. sizes 0-1 are longer than other sizes in the set.
- Square Shortie- these nails run true to size, and have a slight flare at the tip, making the tip wider than the cuticle with a soft square edge. The thumb is shorter by comparison, to the other nails in this shape set. Consider the regular square if you like a more tapered look.
- Square Regular- The length on these are mostly similar to the square shortie, except in the sizes 0-1 which are longer than the same in the shorties. I prefer this shape over the square shortie because it has an ever so slight taper at the tip & sides, making it look less wide and more elegant. This also has a soft square tip- not straight and blunt. If you like the square stories but don't like the nubbie thumb length in that shape...this is the next best shape to try.
- Square Sculpted- such a flattering nail, true to size, a beautiful length somewhere between regular and long. the sculpted c curve creates a slender line, these square tips are flat and have squared edges.
- Square Long- runs slightly larger than true. its a good shape for those who have wider thumbs that may not fit other shapes. Its a softer square tip, with a slight taper.